

 Another Tiny Build coming in at a humble 13 pieces, I present to you a fire hydrant. I’ve never been happy with the fire hydrants I’ve seen in LEGO sets, so I was inspired to come up with my own.
The build is centered around Part 4733, a 1×1 brick with studs on all four sides. It seemed like the obvious choice for something with all those outlet fixtures sticking out. The 4733 part in my build is red, which I was lucky to have a few of. Apparently there’s not a lot of red ones around, so if you’d like to build this yourself but don’t have 4733 in red I think a dark bluish gray one works just as well. You see almost none of it anyway, only in the little gap above the lower 2×2 round tile with hole.
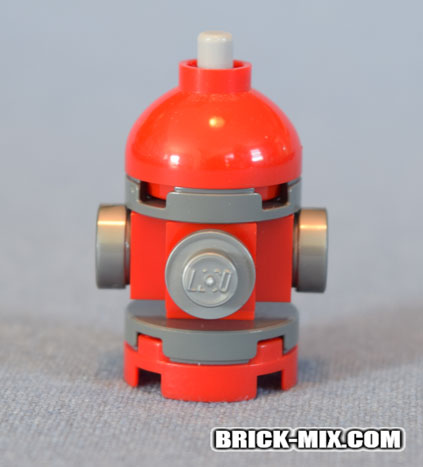 Here’s how it looks from the front. While the top dome is held to the center brick by the stud on top of the brick, the bottom 2×2 round pieces are attached only by the 4L long bar that runs through the whole thing. Because of that the hydrant is able to spin around easily if your parts happen to be on the looser side of their tolerance. I think it’s kind of cool to have a hydrant that can spin around. Seems like it’d make it more convenient for the firefighters, if only slightly.
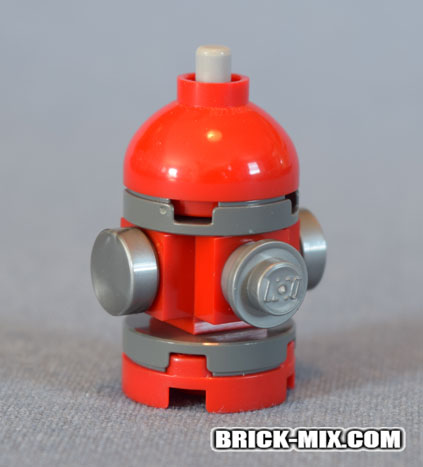
 Side view. The middle brick with a stud on all four sides, Part 4733, has a 1×1 red plate on each side with exception of the back, which has a 1×1 red tile.
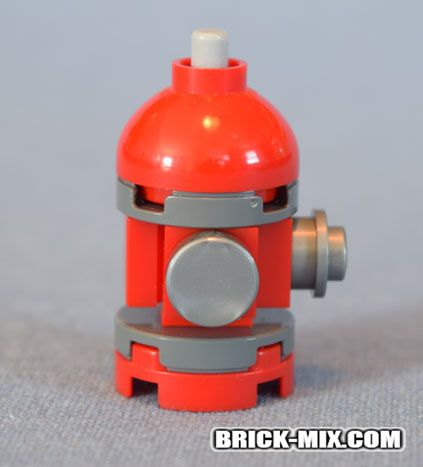
 Rear view. You can better see that tile in the back here.
 There were a couple of variations I was playing with when building the hydrant. The first was the shape of the hydrant, or rather the shape of the outlets. I thought about using 1×1 round studs on all three sides to represent the outlets since they look more like an outlet with a bolt coming out the end, but I decided I liked the look of 1×1 round tiles on the sides instead. I like both that the sides don’t stick out so much, and also that it makes the primary front outlet look bigger and more distinguished than the other two. Looking at it now though I might prefer the other one…
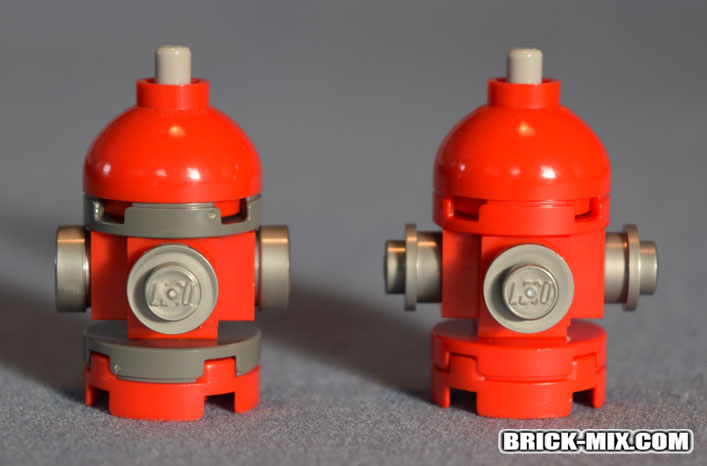
The other variation is the color. Once upon a time I didn’t even know those round 2×2 tiles with holes in them came in the color red. Once I did I built one of these in red too. I think it looks more like the classic hydrant that way, but I prefer the dark bluish gray rings, probably because that’s the one I made first and I’m a sentimental kind of guy.
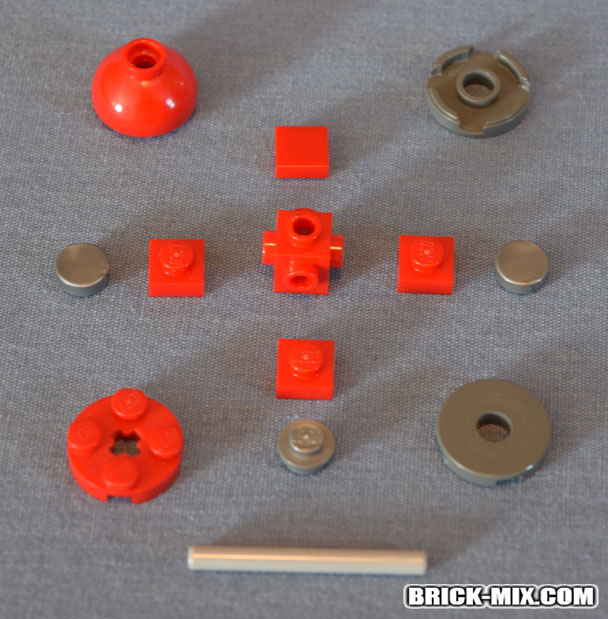 All 13 of the parts needed to build one. Some of these will change depending on which variation you like best.
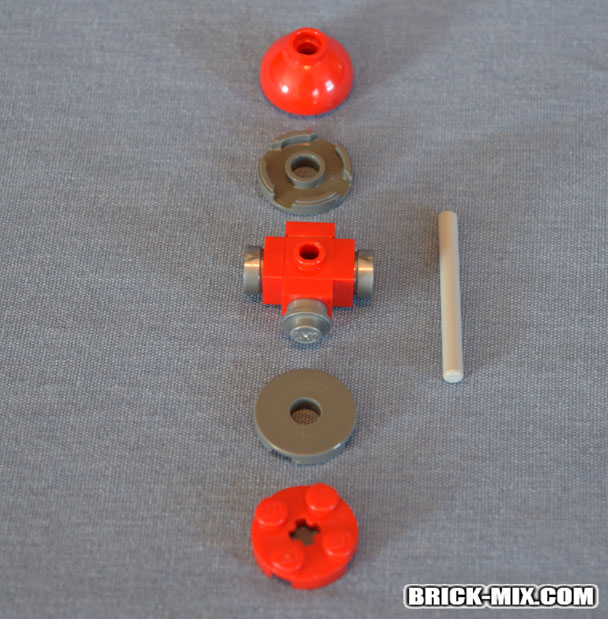 Partially built. I’m sure you get the idea, but I’ll post the LEGO Digital Designer model at the bottom of the page just in case.
 These are all four of the variations between the two different colors and two different types of side outlets.
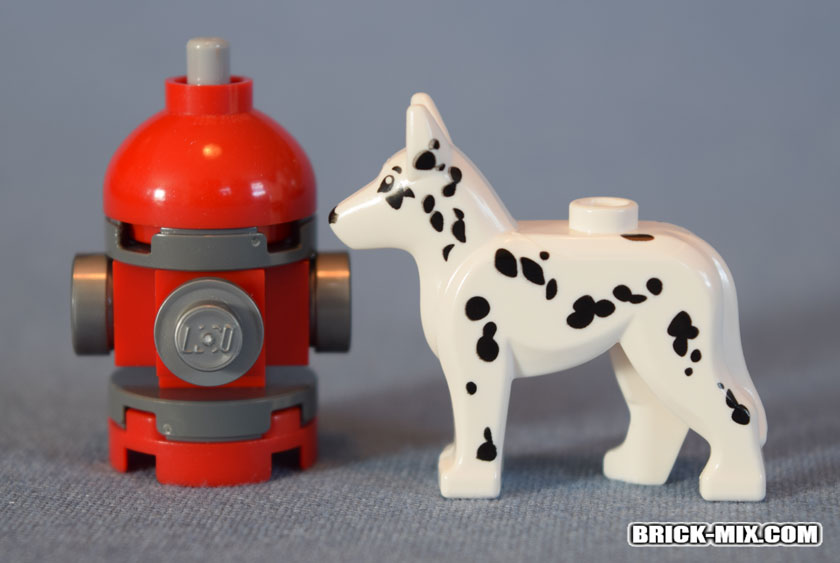 Here you’ll see one of the town’s most diligent firefighters on a weekly inspection. I can only hope my little hydrant meets his high expectations.
Below you’ll find the LEGO Digital Designer model with all four variations in it. Have fun!
![]() LEGO Digital Designer File for “Fire Hydrant”
LEGO Digital Designer File for “Fire Hydrant”
This is so simple and yet so awesome 🙂
Thank you Kieran! For both the compliment and being the first brave soul to leave a comment on the site. Happy building to you, buddy!
This is awesome and super cute!
I love the attention to detail, and hope the citizens are appreciative of your safety attentiveness! 🙂